
I believe a big part of maturity lies in learning who you are and what you need to thrive. I discovered, a long time ago, that I need a dedicated space to create. I need that space to be orderly. And I need to easily see my supplies, or I don’t use them.
When I made the transition from physical cardstock and stamps to digital ones, I didn’t immediately apply that knowledge of self to my new virtual studio. I’m convinced that’s why it took me so long to become a productive and happy digital scrapbooker.
I didn’t have a dedicated digital space. I was using my work laptop because I traveled a lot on business, and wanted to scrapbook at night on the road.
I wasn’t digitally organized. I created sets of folders, but since I didn’t know what kind of supplies I’d have and how I’d use them, they were all jumbled together.
And since I couldn’t see all my supplies, I didn’t use them. I’d forget what I had, and frequently bought duplicates of supplies I already owned.
I spent the next couple years doing far more supply collecting than page creating. In 2012, I decided I’d had enough. I was spending money to purchase digital supplies, but had only a handful of pages to show for it. Scrapbooking was no longer a joy, and it was a creative outlet I sorely missed. So I gutted and remodeled my “virtual craft room”.
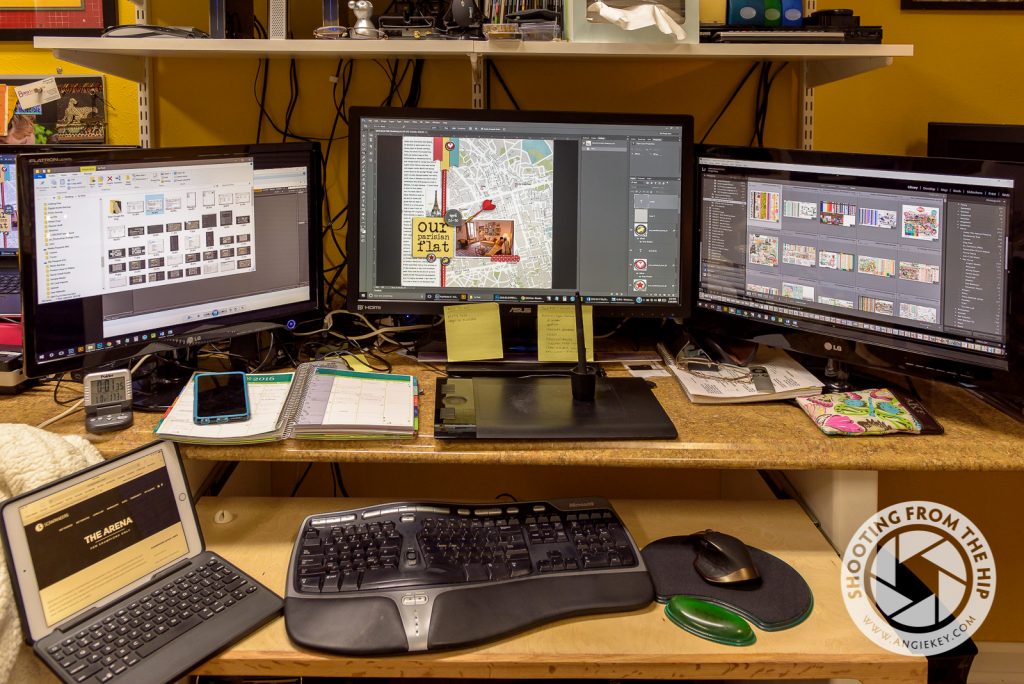
I bought a high-capacity external hard drive and labeled it Life Art, so I’d have my dedicated space. I use a Western Digital My Passport 2TB portable external hard drive.
Then I started my search for information on digital supply organization. I found Kayla Lamoreaux and her series of blog posts on Creative Flow. That site is no more, but you can still find articles online both by and about Kayla, such as this one at The Daily Digi.
Over the next several years, using Kayla’s ideas as my starting point and combining it with Stacy Julian’s Library of Memories philosophy, I developed a system for managing my digital scrapbooking supplies, classes, and layouts as well as my photographs. Within the past several months, I’ve hit a total state of Creative Nirvana – almost like a runner’s high – where I can see what I have, find what I need, and use it all when and how I want. The proof is in the numbers. In the entire year of 2015, I only completed a total of 54 scrapbook layouts, for an average of 4.5 pages a month. Between January 1, 2016 and March 17, 2016, I’ve created and completed 45 scrapbook layouts. That’s 45 pages in just 2.5 months … an average of 18 pages a month.
I’m creating at 400% the speed of my 2015 pace. Half of it is due to the community I’ve discovered at The Lilypad. The other half is the system I’ve developed for my digital supplies.
Several of the ladies at The Lilypad asked if I’d share my organizational system. If it’ll help save someone else all that time I wasted trying to figure out what worked for me, I’m happy to do it! Bear with me, though – this is a long story, spread over several posts. I’ll give you an overview of my philosophy for organizing supplies, then walk you through how I add new stuff to my library, and finally show you how I find and use what I have. Here we go!
My Philosophy
- Stay software agnostic. Don’t tie an organizational system to a particular software package, because a company in business today may not be in three years. I save everything in the file metadata, not in a sidecar file or a software database.
- Only tag what’s absolutely necessary. In the beginning, I tried to tag every single file – every piece of paper, every individual design element … everything. I quickly learned that I’d rather spend my time creating than tagging. Which is why I …
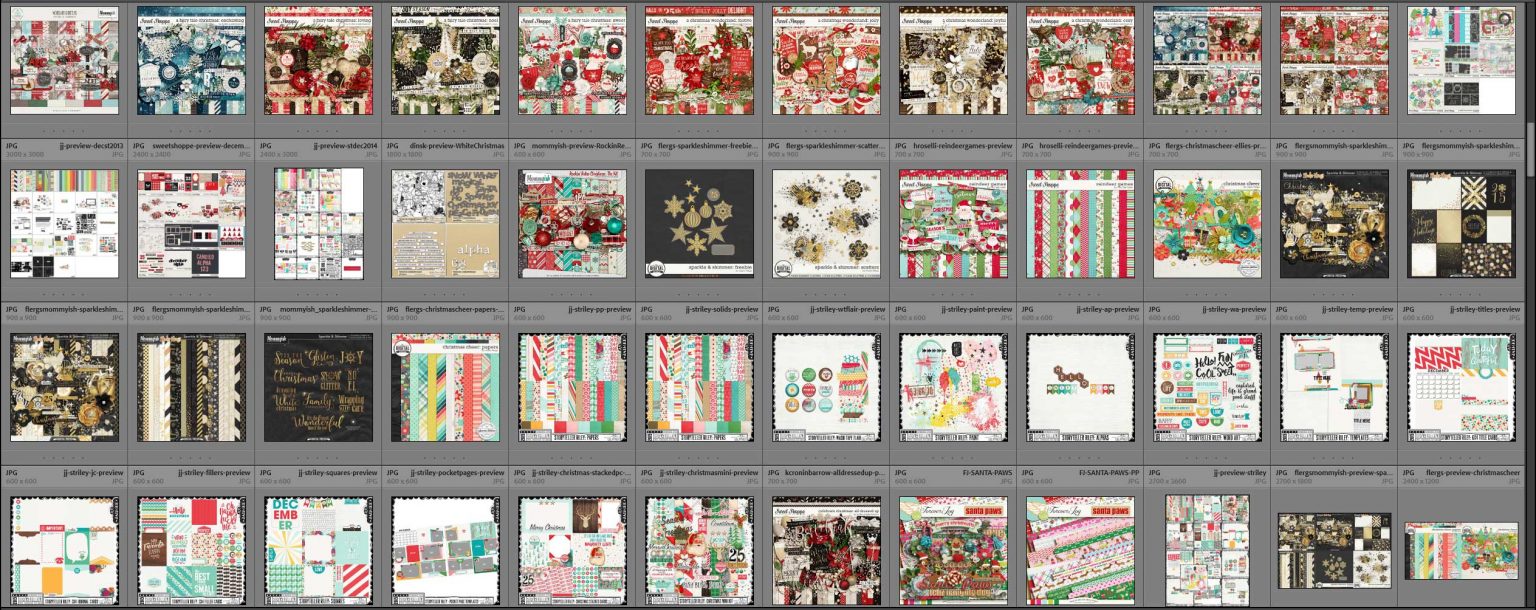
- Only tag details on kit preview images. Once I find a preview I like, I can backtrack to find all the individual files. Tagging one file instead of hundreds? A much better use of time. And speaking of how I use my time…
- Tag it like I look for it. This took me a while to figure out. If I’m tackling a layout, how do I want to find supplies? 95% of the time, I look for supplies by their theme (photos of my nieces playing dress-up, I want kits about princesses or little girls or pixies) or by their color (they’re wearing purple and hot pink, so let’s find a kit that matches). Color and theme are all I need to tag.
- Save time by doing things in batch. Tools like ExtractNow and Bridge make this easy.
My File Structure
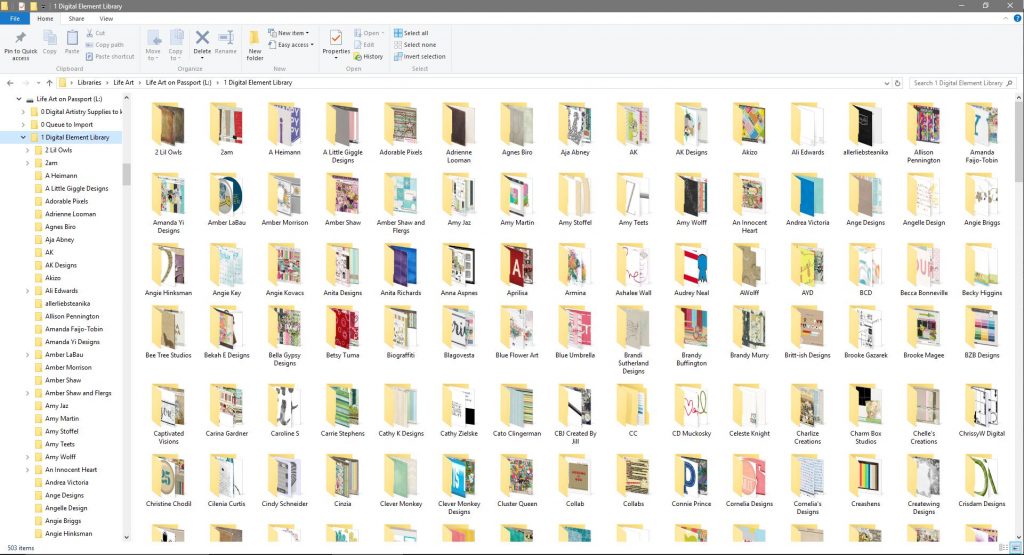
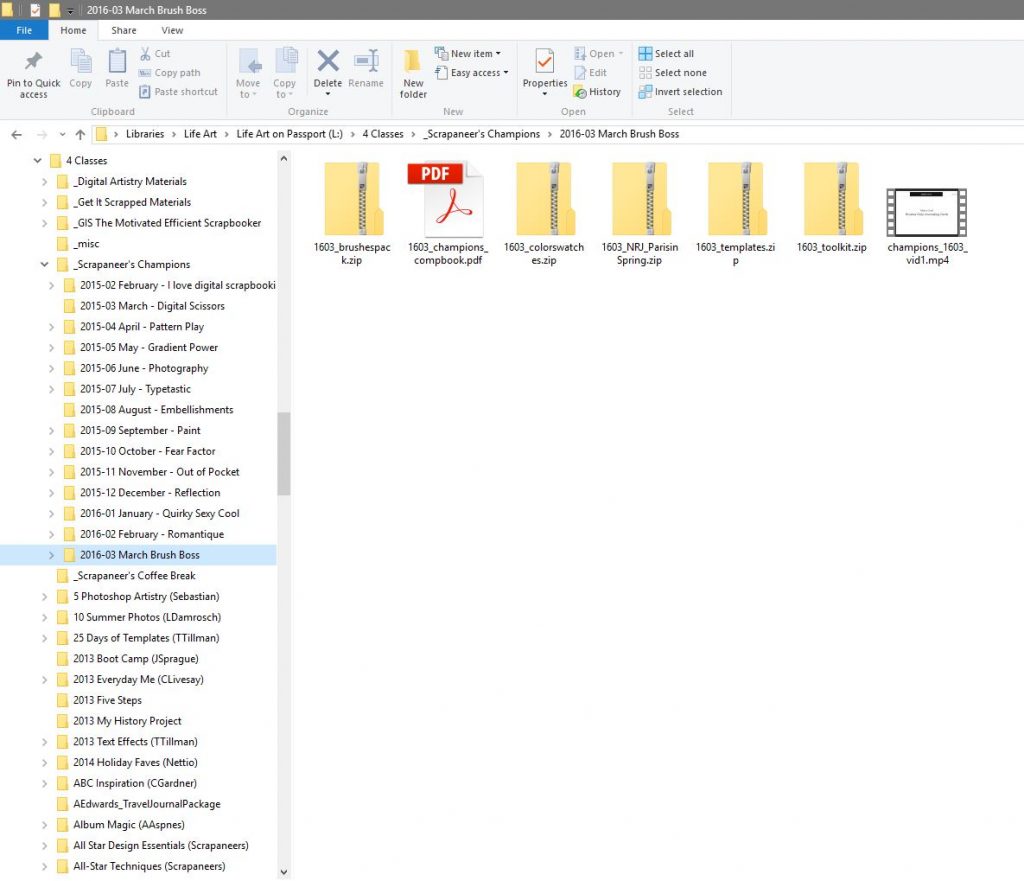
I set up my external drive to map to the letter L (for Life Art) and gave it a simple folder structure:
- 0 Queue to Import – new supplies I’ve bought and need to add to my library. (More on that later.)
- 1 Digital Element Library – folders by designer name, containing all supplies by that designer
- 2 Scrapbook Layouts – high-res JPG files of all my completed scrapbook pages
- 3 Project Files – folders for specific projects like albums, posters, gifts, parties, etc.
- 4 Classes – folders of all classes I’ve bought with downloads and videos
My Software Choices
I’ve gone Adobe Creative Cloud all the way for my creative work. I’ve been using Lightroom since version 2 to process my photography, as well as to keyword and search for my digital supplies. I use Photoshop for hand edits on my photos and layout creation. I use Bridge for batch processing. And if I’m feeling fancy, I use InDesign for albums and books. I’m still learning how to use Illustrator. I can also hack my way around Premiere Pro to create videos, and once upon a time I developed computer based tutorials using Flash.
My Keyword Structure
Some people are vehemently against the idea of using keywords for their digital supplies, but they complain when they can’t find what they want among what they own. Bottom line, it takes an investment of time and effort to set up an organization system – any system – but once it’s done, if you do the work to maintain it, it pays off in huge dividends by the time you save (and the frustration you avoid!) when you’re able to find what you need when you need it. Not to mention the money you save when you don’t buy duplicates of kits you already own! So yeah, I use keywords. No, I don’t spend all my time keywording my files. I do just enough on just the right files to find what I need.
When you start adding keywords to your files in Lightroom, you quickly learn you’ve got to have a way to nest them or it becomes this giant nightmare of a list to scroll through. I created a top level keyword for 00. Life Art Keywords and created all my digital supply keywords inside of it. Here’s a run-down of the highlights:
- * Preview Image – self explanatory … for all the preview images.
- ** MASTER Kit Preview Image – added to the ONE preview image that best represents a kit as a whole.
- **KeywordThis – for any preview image I haven’t yet keyworded.
- 1. Templates
0. Layered Template
1 photo
2 photos
… etc – I’m not great about keywording my templates by the number of photos, so this is hit-or-miss in my library.
layout: one-page
layout: table-of-contents
layout: title-page
layout: two-page
size: 4×6
size: 6×8
size: 8.5×11
size: 12×12
style: journaling heavy
style: big photo - 2. Color – this list is going to feel like overkill, but it works best for me. After all, there’s a difference between baby blue, royal blue, navy blue, turquoise, and teal. The numbers are there simply for help in sorting. When the list is alphabetical by color, I struggle to find them when I’m adding keywords. When they’re in spectrum order? I go straight to it.
2.00 BASIC NEUTRALS
2.01 White
2.02 Grey
2.03 Black
2.00 NEUTRAL BROWNS
2.01 Cream
2.02 Kraft
2.03 Brown
2.10 RED
2.11 MEDIUM orange red
2.12 MEDIUM blue red
2.13 DARK deep red
2.14 DARK maroon
2.20 ORANGE
2.21 LIGHT coral
2.22 MEDIUM orange
2.23 DARK orange
2.30 YELLOW
2.31 LIGHT yellow
2.32 MEDIUM yellow gold
2.33 DEEP yellow
2.34 mustard yellow
2.40 GREEN
2.41 LIGHT olive green
2.41 MINT green
2.42 LIME green
2.43 MEDIUM kelly green
2.44 MEDIUM olive green
2.45 DARK green
2.50 AQUA
2.51 LIGHT aqua
2.52 MEDIUM turquoise
2.53 DEEP teal
2.60 BLUE
2.61 LIGHT blue
2.62 MEDIUM royal blue
2.63 DARK navy
2.64 DEEP blue
2.70 PURPLE
2.71 LIGHT lavender
2.72 MEDIUM purple
2.73 DEEP purple
2.80 PINK
2.81 LIGHT pink
2.82 MEDIUM hot pink
2.83 DARK pink
2.84 DEEP magenta
2.90 METALLICS
2.90 Clear
2.91 Gold
2.92 Silver
2.93 Copper
NEON
RAINBOW - 3. Paper – I used this mostly when I was trying to keyword every single file in a kit. Now, I add it to the preview image of papers and that’s it.
- 4. Photo Mask – This is another leftover from when I tried to keyword every single file in a kit. It’s one of the few I still use when I’m scrapping and looking for a tool, so I add it to the appropriate previews, like supplies from Katie Pertiet and Anna Aspnes.
filmstrip
frames
photo stacks
torn - 5. Journaling – another leftover from my days of keywording every single file in a kit. Now, I’ll tag supply previews of word art or alphabets or journaling cards as appropriate.
alpha
card – pocket or project life
word art - 7. Theme – the #1 way I search for supplies, so I spend most of my keywording time here. This is just a partial list of keywords under this heading:
.ANIMAL
bear
birds
bunny
butterflies
cardinal
cat
deer
dog
…etc
.COUNTRY or CONTINENT
Africa
America or Americana
Asia
Australia
Canada
China
Dutch Holland or The Netherlands
Europe
France
Germany
…etc
.EDIBLES
apple
candy
champagne
cocoa
coffee
cooking
drinks
food
lemon
pie
popsicle
sweets
tea party
.EMOTION or MENTAL
adventure
adversity
affirmation
anger or angry
beauty
change
creative or creativity
depression
dreams
emotion
feminine
give or giving
goals
gratitude or thanks
grief
happy or joy
humor or sarcasm
juvenile
kindness
masculine
peace
serve service or serving
strength
weird or different
.GROWING THINGS
acorn
bluebonnets
cactus
daffodil
daisy
dandelion
floral
forest
garden
grass
nature
pansy
pinecone
poinsettia
rose
sunflower
tree
tulip
wildflower
.HOBBY
art
books or reading
games
scrapbooking
sewing
.HOLIDAY or CELEBRATION
advent
anniversary
birthday
celebrate
Christmas
congratulations
Easter
graduation
halloween
love or valentines
new year
Thanksgiving
wedding
.MONTH
01 January
02 February
03 March
…etc
.MOVIE
Brave
Cinderella
Disney
Frozen
Harry Potter
LEGO Movie
Mickey
Rapunzel
Star Wars
Tangled
.PEOPLE
angel
baby
best friends
boy
dad or father
fairy or pixie
girl
grandchildren
grandmother
mermaid
mom or mother
nerd
princess
snowman
teen
tween
woman
youth
zombies
.PLACES
amusement park
beach
circus
fair
farm
home
lake
school
tropical
university
.SEASON
autumn or fall
spring
summer
winter
.SPORTS
archery
basketball
bike or bicycle
camping
competition
drama or theatre
exercise
football
health
hiking
soccer
sports
surfing
swimming
weight loss
.STATE
Alabama
Alaska
Arizona
Arkansas
…etc
.TECH
cassette tape
email
emoticon or emoji
Facebook
Flickr
Google+
infographic
instagram
instamatic
internet or tech
iPod
phone
photography
Pinterest
polaroid
RSS
selfie
steampunk
television
Twitter
typewriter
YouTube
.TEXTURE
cardboard
cork
denim
fabric
glitter glitz or bling
lace
leather
metal
sparkle
texture
torn
watercolor
wood
.THINGS
award
balloon
basket
bubbles
…etc
.TRANSPORTATION
airplane
boat
car or driving
cruise
train
.TRAVEL
passport
road trip
.WEATHER
rain
rainbow
snow
sun or sunshine
tropical
.YEARS or ERAS
1950s
1980s
2014
2015
2016 - 9. Designers – a keyword for every single designer, with sub-keywords for every product I own. For example:
- Forever Joy
FJ_Scrappy
FJ_WrapStar
FJ-BASIC-NEUTRAL
FJ-BLESSINGS
FJ-CAPTURED
FJ-CIN-CIN
FJ-COTTAGE-CHIC
FJ-GREENER-GRASS
FJ-SANTA-PAWS
FJ-SurfShack
FJ-UNWRITTEN
ForeverJoy_Be
ForeverJoy-DayDreamer
- Forever Joy
- Kit – a listing of all the kits I own, by name. These keywords all begin with “kit – ” for consistency. For example:
kit – Be
kit – Birds of a Feather
kit – Blessings
kit – BYOC March 2016
kit – Captured FJ (there are several kits named “Captured” so I add the designer’s initials)
kit – Cin Cin
kit – Cottage Chic
kit – Currently Collab
kit – Daydreamer FJ
kit – Greener Grass
…etc
Now, for the details…
Believe it or not, that’s just the overview. You can read this post to learn more about my workflow for taking a kit from ZIP file download and bringing it into my Digital Element Library. Or, for those of you who like to read the end of the book first, you can check out this post where I show you how I find and use what I have once I’ve done the work to bring it into my Library.
Enjoy!
 Problem: SOLVED
 »
»
[…] In this post, I talked about how I’ve reached Digital Scrapbooking Supply Nirvana, where I can see what I have, find what I need, and use it all when and how I want. […]